Laser cutting is an incredible technology that offers precision and versatility for a wide range of materials, including metals, plastics, and wood. However, even the most advanced laser cutting systems can encounter issues. Understanding the most common laser cutting problems and their solutions is crucial for any operator, whether you’re a seasoned professional or just starting. Facing problems like rough edges, burn marks, or inconsistent cuts can be frustrating and costly, but with the right knowledge, you can troubleshoot effectively and consistently achieve high-quality results. Tanaka laser cutters are recommonended to avoid the difficult issues that are mentioned in this article. We will guide you through some of the most frequent challenges and provide real solutions to get your laser cutting back on track.
The Problem of Inconsistent Cuts
One of the most frustrating issues in laser cutting is when your machine produces inconsistent cuts. This can manifest as cuts that are either too deep in some areas and too shallow in others, or that stop entirely. This problem often points to an issue with the machine’s setup or maintenance rather than the laser itself.
A common culprit for this is an improperly focused laser beam. If the focal point shifts, the laser’s power density changes, leading to variations in the cut depth. Another cause could be a dirty or damaged lens, which can scatter the laser light and reduce its effectiveness. Mechanical issues, such as loose belts or worn-out guides, can also lead to movement during the cutting process, resulting in inconsistent results. An improperly focused beam could lead to issues like this on the surface.

To address this, the first step is to verify and adjust your laser’s focus. Clean all optics, including lenses and mirrors, with a professional-grade solution and lint-free wipes.
- Check and adjust the focal length: Use the correct focusing tool or procedure for your machine to ensure the beam is focused precisely on the material’s surface. A simple “ramp test” can help you find the optimal focal height for a new material.
- Clean and inspect your optics: Regularly clean your lenses and mirrors. Even a speck of dust can significantly impact performance. Replace any components that show signs of damage.
- Inspect mechanical components: Look for any loose belts, worn-out bearings, or misaligned guides. These can cause unwanted vibrations or common laser cutting problems that disrupt the cut.
- Ensure proper material clamping: Make sure the material is securely clamped and flat on the workbed. Any movement or warping can lead to depth variations and a failed cut, especially with thin sheets of plywood or acrylic.
By systematically checking these elements, you can often pinpoint and resolve the cause of inconsistent cuts, leading to a much more reliable and predictable outcome.
Dealing with Burn Marks and Rough Edges
Another prevalent issue in laser cutting is the appearance of burn marks and rough, jagged edges on the finished product. This is particularly common when cutting materials like wood, acrylic, or certain plastics. While a certain degree of charring is expected with some materials, excessive burning indicates a problem with the process.
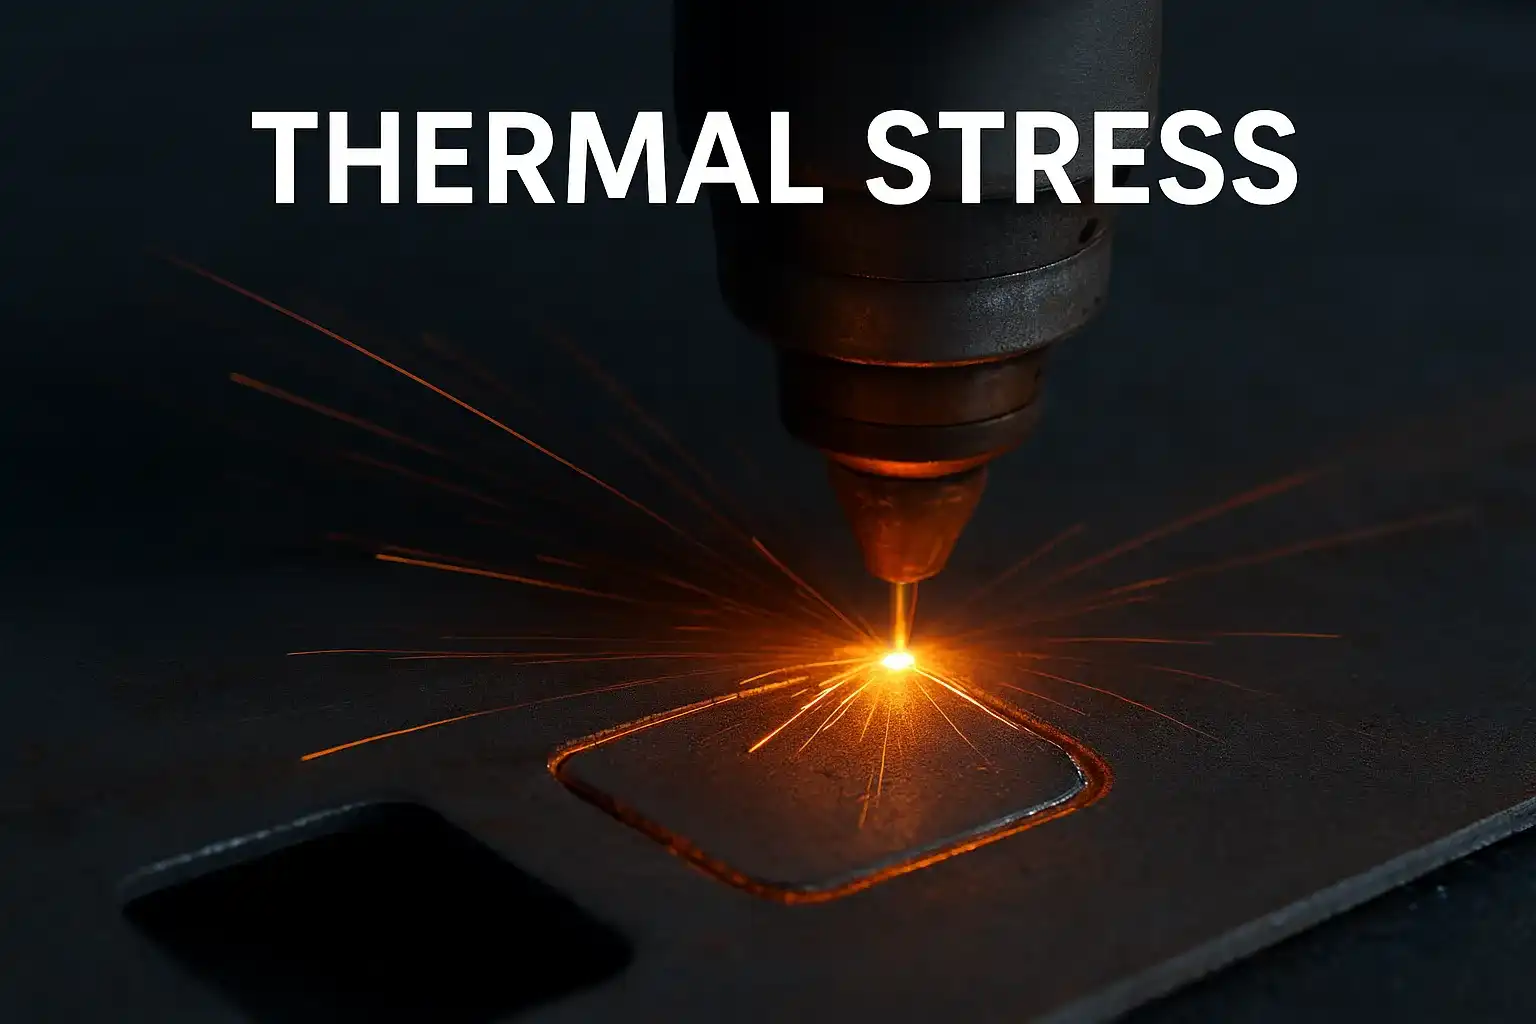
The primary cause of these imperfections is often a laser that is either moving too slowly or is too powerful for the material being cut. This leads to excessive heat buildup, causing the material to burn rather than vaporize cleanly. An insufficient air assist is another major factor, as the lack of a powerful air stream prevents debris and smoke from being blown away, leading to residue buildup and re-ignition. Here is an example of what happens when a laser moves too slowly:

To achieve clean cuts, avoid situations like the image above, and minimize burning, consider these solutions.
- Optimize speed and power settings: Find the perfect balance between cutting speed and laser power. A good starting point is to increase the speed while maintaining enough power to cut through the material in a single pass.
- Use adequate air assist: Ensure your air assist system is functioning correctly and is directed at the cutting point. A strong, consistent stream of air is crucial for a clean cut.
- Adjust focus: A slightly out-of-focus beam can spread the heat, leading to wider, rougher edges. Double-check your focal length for optimal precision.
- Clean your work area and machine bed: Debris on the laser bed can reflect the beam, causing burning on the underside of your material. A clean surface ensures a clean cut.
Are You Ready To Stop Dealing With These Common Laser Cutting Problems?
By adjusting your settings and ensuring proper airflow and cleanliness, you can significantly reduce the occurrence of burn marks and achieve the smooth, professional finish you’re looking for. A well-maintained machine and a thoughtful approach to settings are the keys to overcoming most laser cutting challenges. Ready to upgrade your laser cutting results? Visit our laser cutting page to explore our range of laser cutting solutions and resources designed to help you achieve perfect cuts every time.