
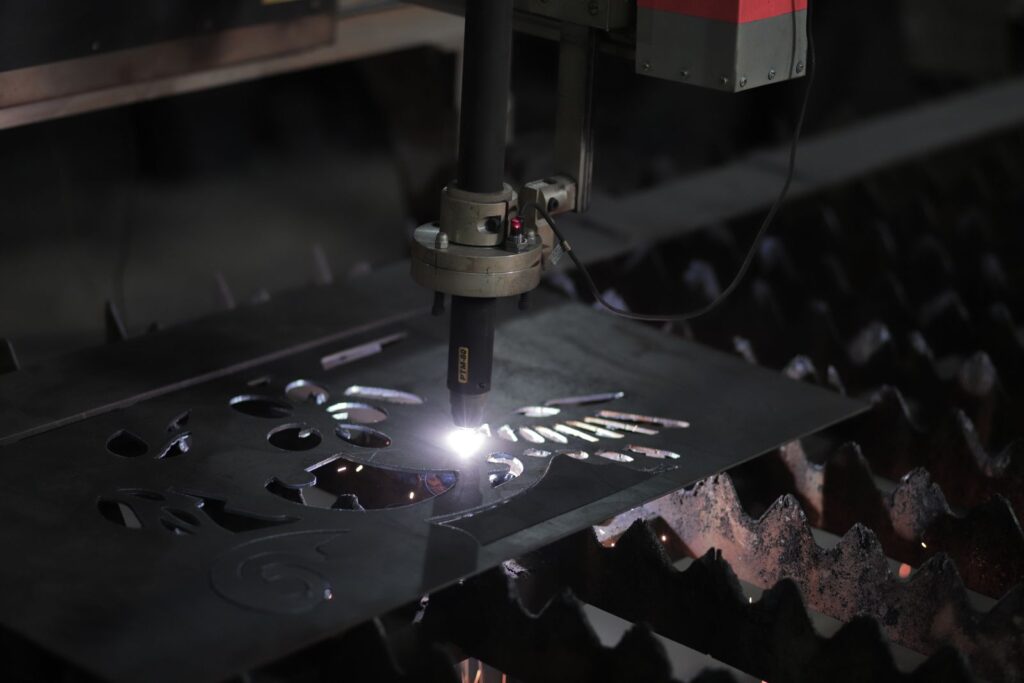
Laser Protective Window Replacement: 5 Signs It Is Done and How to Make Each One Last Longer
A laser protective window is the sacrificial glass that sits between the cutting head’s focusing optics and the nozzle, and it should be inspected every shift and replaced the moment it shows contamination, pitting, or a burn mark, not on a fixed calendar. In a shop cutting mild steel with oxygen, that often means a new window every one to two weeks. In a shop cutting thin stainless and aluminum with nitrogen at high pressure, a window can last a month or more. A window that is kept in service after it fogs or pits costs far more than the part: it scatters beam energy, degrades cut quality, overheats, and in the worst case cracks and lets spatter reach the focusing lens or collimator, which is a repair measured in days of downtime. This guide covers what the window does, how to know when it is done, how to change it without introducing new contamination, and how to make each one last longer. Table of Contents The Short Answer What a Laser Protective Window Does How Often Should You Replace a Laser Protective Window? Signs the Window Is Contaminated or Damaged What Contamination Does to Cut Quality and the Head How to Inspect and Replace One Correctly Reducing How Often You Replace Them Stocking the Right Spares Protective Window Problems That Look Like Something Else Protective Window Quick Reference Frequently Asked Questions The Short Answer Reger Laser services fiber laser cutting machines for fabrication shops across the country, and the laser protective window is the single most common part we ship and the single most common cause of the cut quality complaints we get called about. That is not a coincidence. It is the cheapest optic in the head, it is the one closest to the cut, and it is the one operators are most tempted to leave in place for one more shift. The short answer to how often to change it is: when inspection says so, and inspection should happen every shift. If your shop does not have a shift-start inspection habit, our post on fiber laser preventative maintenance lays out the full checklist, and the protective window is the first item on it. What a Laser Protective Window Does The beam leaves the fiber, is collimated, then focused by a lens or lens group to a spot a fraction of a millimeter wide. Below the focusing optics, the beam passes through the laser protective window, then out the nozzle into the cut. The window’s only job is to take the abuse that would otherwise reach the focusing lens: spatter blowing back up from the kerf, fume, dust from the shop air, and the occasional piece of slag flung upward when a part tips. It is a flat, anti-reflection coated piece of fused silica, sealed in a cartridge or holder so it can be swapped in a minute without opening the optical path to the shop air. Because it is flat and coated for the laser’s wavelength, a clean laser protective window is nearly invisible to the beam: transmission is well above 99 percent. Every particle, pit, or film of residue on it changes that. The energy that does not pass through is absorbed by the window, which heats, or scattered, which spreads the focused spot. Both show up in the cut long before the window looks obviously bad to the naked eye. How Often Should You Replace a Laser Protective Window? Fixed intervals are a starting point, not a rule. Here is what we see across the shops we service. Mild steel with oxygen assist, 24-hour production: inspect every shift, replace every one to two weeks. Oxygen cutting produces heavy oxide spatter that finds its way up the nozzle. Stainless and aluminum with nitrogen at high pressure: inspect every shift, replace every two to six weeks. The high-pressure gas flow keeps most spatter out of the nozzle. Thick plate, piercing-heavy nests, or a lot of small holes: shorter intervals. Every pierce throws material upward, and the window sees all of it. Galvanized, painted, or oily material: shorter intervals, because the fume is worse and it condenses on the window. Any shop with poor fume extraction or dusty air: shorter intervals for everything. The laser protective window does not wear out on a schedule. It gets contaminated by what you cut, and a shop that changes nests, materials, or assist gas will see the interval change with them. Our post on laser cutting assist gas explains why the gas choice moves the interval so much. Signs the Window Is Contaminated or Damaged Inspection takes a minute with the head’s cartridge pulled and a bright light held at an angle. Look for: Haze or a bloom across the surface that does not wipe off. Condensed fume and burned-on residue. Pits or specks, especially near the center where the beam passes. Spatter that has burned into the coating. A dark spot or ring at the center. The beam has been heating a contaminated point and the coating has begun to fail. Cracks, chips at the edge, or a cloudy edge. The window has been thermally stressed and can shatter in service. Any residue on the sealed side, which means the cartridge seal or the head is compromised and contamination is reaching the focusing optics. A window that passes all five checks goes back in. A window that fails any of them is replaced, and the failed one is kept in a labeled bag for a week in case a cut quality problem needs tracing. The machine also tells you: many fiber laser heads monitor scattered light or temperature at the protective window and raise a warning before the operator can see the problem. Do not clear that warning and keep cutting; it is the cheapest alarm on the machine. Our fiber laser troubleshooting guide covers what the other alarms mean. What Contamination Does to Cut Quality and the Head The first symptom of a contaminated laser protective window is