A laser protective window is the sacrificial glass that sits between the cutting head’s focusing optics and the nozzle, and it should be inspected every shift and replaced the moment it shows contamination, pitting, or a burn mark, not on a fixed calendar. In a shop cutting mild steel with oxygen, that often means a new window every one to two weeks. In a shop cutting thin stainless and aluminum with nitrogen at high pressure, a window can last a month or more. A window that is kept in service after it fogs or pits costs far more than the part: it scatters beam energy, degrades cut quality, overheats, and in the worst case cracks and lets spatter reach the focusing lens or collimator, which is a repair measured in days of downtime. This guide covers what the window does, how to know when it is done, how to change it without introducing new contamination, and how to make each one last longer.
Table of Contents
- The Short Answer
- What a Laser Protective Window Does
- How Often Should You Replace a Laser Protective Window?
- Signs the Window Is Contaminated or Damaged
- What Contamination Does to Cut Quality and the Head
- How to Inspect and Replace One Correctly
- Reducing How Often You Replace Them
- Stocking the Right Spares
- Protective Window Problems That Look Like Something Else
- Protective Window Quick Reference
- Frequently Asked Questions
The Short Answer
Reger Laser services fiber laser cutting machines for fabrication shops across the country, and the laser protective window is the single most common part we ship and the single most common cause of the cut quality complaints we get called about. That is not a coincidence. It is the cheapest optic in the head, it is the one closest to the cut, and it is the one operators are most tempted to leave in place for one more shift. The short answer to how often to change it is: when inspection says so, and inspection should happen every shift.
If your shop does not have a shift-start inspection habit, our post on fiber laser preventative maintenance lays out the full checklist, and the protective window is the first item on it.
What a Laser Protective Window Does
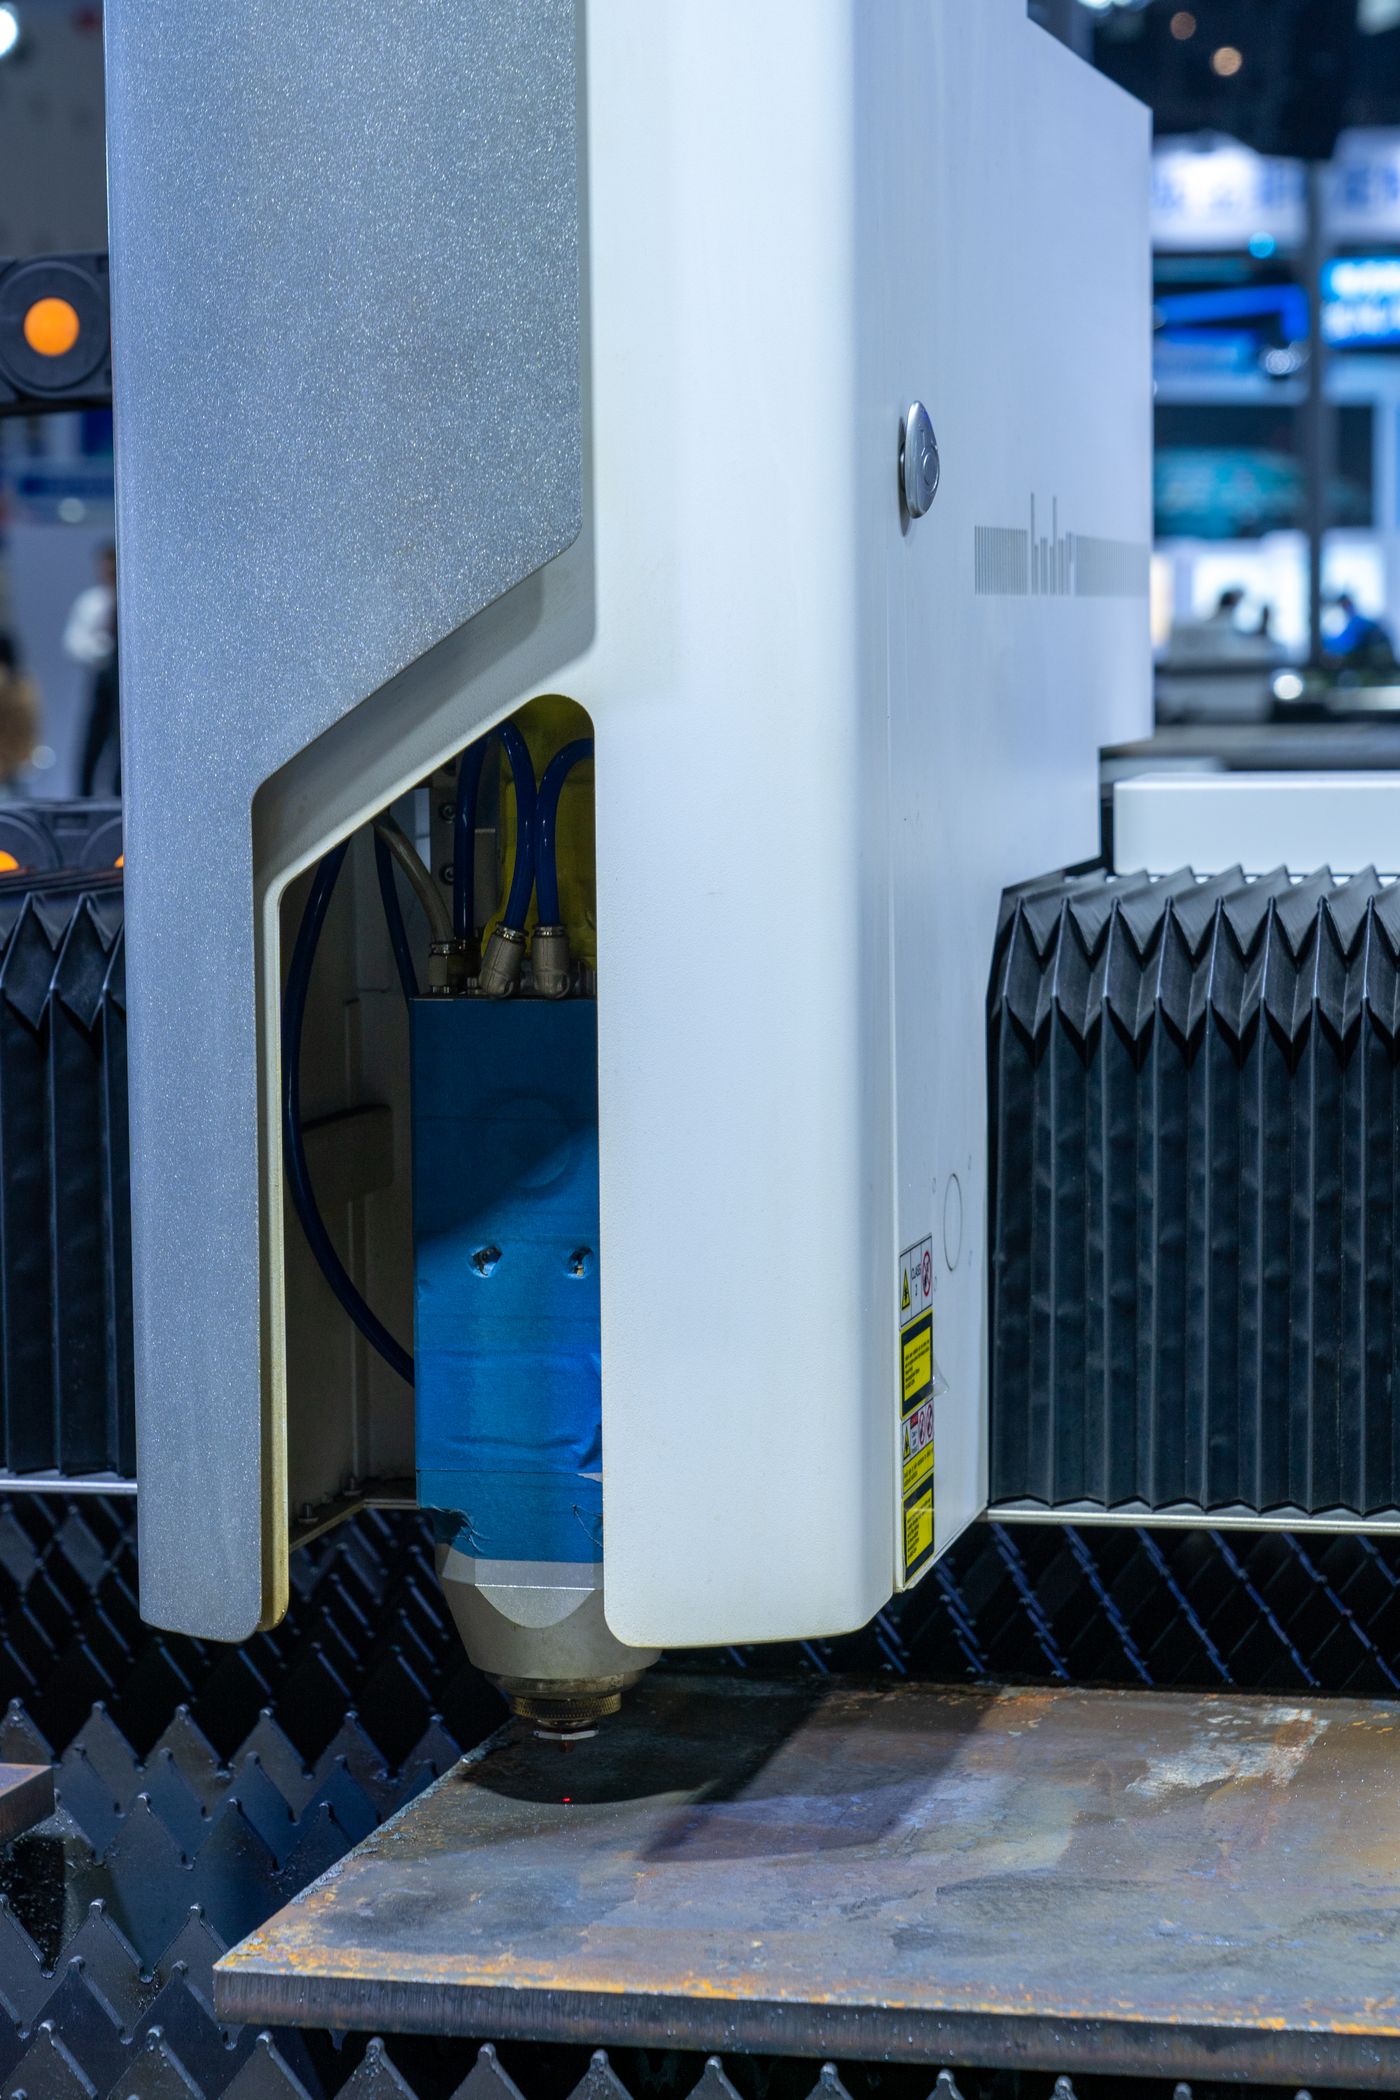
The beam leaves the fiber, is collimated, then focused by a lens or lens group to a spot a fraction of a millimeter wide. Below the focusing optics, the beam passes through the laser protective window, then out the nozzle into the cut. The window’s only job is to take the abuse that would otherwise reach the focusing lens: spatter blowing back up from the kerf, fume, dust from the shop air, and the occasional piece of slag flung upward when a part tips. It is a flat, anti-reflection coated piece of fused silica, sealed in a cartridge or holder so it can be swapped in a minute without opening the optical path to the shop air.
Because it is flat and coated for the laser’s wavelength, a clean laser protective window is nearly invisible to the beam: transmission is well above 99 percent. Every particle, pit, or film of residue on it changes that. The energy that does not pass through is absorbed by the window, which heats, or scattered, which spreads the focused spot. Both show up in the cut long before the window looks obviously bad to the naked eye.
How Often Should You Replace a Laser Protective Window?
Fixed intervals are a starting point, not a rule. Here is what we see across the shops we service.
- Mild steel with oxygen assist, 24-hour production: inspect every shift, replace every one to two weeks. Oxygen cutting produces heavy oxide spatter that finds its way up the nozzle.
- Stainless and aluminum with nitrogen at high pressure: inspect every shift, replace every two to six weeks. The high-pressure gas flow keeps most spatter out of the nozzle.
- Thick plate, piercing-heavy nests, or a lot of small holes: shorter intervals. Every pierce throws material upward, and the window sees all of it.
- Galvanized, painted, or oily material: shorter intervals, because the fume is worse and it condenses on the window.
- Any shop with poor fume extraction or dusty air: shorter intervals for everything.
The laser protective window does not wear out on a schedule. It gets contaminated by what you cut, and a shop that changes nests, materials, or assist gas will see the interval change with them. Our post on laser cutting assist gas explains why the gas choice moves the interval so much.

Signs the Window Is Contaminated or Damaged
Inspection takes a minute with the head’s cartridge pulled and a bright light held at an angle. Look for:
- Haze or a bloom across the surface that does not wipe off. Condensed fume and burned-on residue.
- Pits or specks, especially near the center where the beam passes. Spatter that has burned into the coating.
- A dark spot or ring at the center. The beam has been heating a contaminated point and the coating has begun to fail.
- Cracks, chips at the edge, or a cloudy edge. The window has been thermally stressed and can shatter in service.
- Any residue on the sealed side, which means the cartridge seal or the head is compromised and contamination is reaching the focusing optics.
A window that passes all five checks goes back in. A window that fails any of them is replaced, and the failed one is kept in a labeled bag for a week in case a cut quality problem needs tracing. The machine also tells you: many fiber laser heads monitor scattered light or temperature at the protective window and raise a warning before the operator can see the problem. Do not clear that warning and keep cutting; it is the cheapest alarm on the machine. Our fiber laser troubleshooting guide covers what the other alarms mean.
What Contamination Does to Cut Quality and the Head
The first symptom of a contaminated laser protective window is a cut that got worse without a parameter change. The focused spot grows and loses power density, so the kerf widens, the cut slows, dross appears on the bottom edge, and piercing takes longer. Operators often respond by raising power or slowing feed, which hides the problem for a shift and cooks the window faster. Our post on fiber laser cut quality problems puts the window at the top of the list of things to check before touching parameters.
The second symptom is heat. A window absorbing even a few percent of a multi-kilowatt beam heats quickly, which distorts it slightly and shifts the focal position, so the cut changes through the shift as the window warms. Left long enough, thermal stress cracks the window. When that happens the focusing lens is exposed, and a lens contamination or replacement is a far larger repair with the head off the machine and the optical path realigned. That is the downtime our post on fiber laser downtime is about, and a one-minute window change prevents it.
How to Inspect and Replace One Correctly
A window change is simple, but a careless one introduces the contamination it was meant to prevent.
- Clean the outside of the head and the cartridge area before opening anything. Blow off dust, wipe with a lint-free cloth.
- Wash and dry hands or wear nitrile gloves. Skin oil on an optic burns in under the beam.
- Remove the cartridge and set it on a clean surface, sealed side down.
- Handle the new laser protective window by the edges only, from its sealed packaging, and check its orientation if the coating is single-sided.
- Inspect the cartridge seal and the O-ring. A damaged seal lets shop air into the optical path. Replace it if it is flattened or nicked.
- Seat the new window, reinstall the cartridge, and confirm the head’s window sensor clears its warning before the first cut.
- Log the change: date, hours, material being cut. The log is how you learn your shop’s real interval.
Never clean a protective window with a shop rag or a generic glass cleaner. If a window is only lightly dusty and the shop wants to reuse it, use optics-grade wipes and solvent, and only once. The Laser Institute of America publishes safety guidance for anyone working around an open beam path; the head should be locked out and the shutter closed during any optic work. Our laser operator training covers the procedure hands-on.
Reducing How Often You Replace Them
The window interval is a symptom of how much debris reaches the nozzle. Shops that stretch it do a few things consistently.
- Correct nozzle condition and standoff. A worn or damaged nozzle disturbs the gas flow that is supposed to keep spatter out. Our post on laser cutting nozzles covers inspection and replacement.
- Adequate gas pressure and clean gas. Low pressure lets spatter travel up the nozzle; contaminated gas deposits on the window from the inside.
- Piercing parameters that ramp power instead of blasting. A soft pierce throws less material upward.
- Fume extraction that actually pulls, with the table zones working and the filter maintained. Fume that lingers around the head ends up on the optic.
- Clean material. Oil, mill scale, and paint all raise the fume load.
- A clean machine enclosure and shop air. Grinding dust from the next bay ends up inside the head over time.
Together these changes can double a window’s life in a mild steel shop. They also cut nozzle and lens consumption, which is why they are part of every preventive maintenance visit we run. The Fabricator has published extensively on the same shop-floor practices.
Stocking the Right Spares
A shop that cuts every day should have protective windows on the shelf, in sealed packaging, matched to the head model. Running out means either cutting with a bad window or stopping the machine, and both are expensive. We recommend at least a month’s supply based on the logged interval, plus a spare cartridge seal kit and a spare nozzle set, because a window change often reveals a nozzle that should go too. Our post on laser machine spare parts lists the full critical spares kit, and the parts picker on our site matches windows and nozzles to the machine. Genuine or verified-compatible windows matter here: an off-spec coating transmits less, heats more, and fails sooner, which erases the savings on the first bad cut.
Protective Window Problems That Look Like Something Else
Because the laser protective window sits in the beam path, its failures mimic other faults, and shops lose hours chasing the wrong cause. Here are the misdiagnoses we see most on service calls.
- Suspected source power loss. Cutting speed on thick plate has dropped and the operator assumes the fiber source is aging. A contaminated window was absorbing a few percent of the beam. A new window restored the speed.
- Suspected focus drift. Cut quality changes from the start of a shift to the end. The window was heating as it absorbed energy and shifting the focal position. New window, stable cuts.
- Suspected nozzle or gas problem. Dross on the bottom edge that looks like a gas issue. Gas pressure was fine; the spot had grown because the window was hazed.
- Suspected lens damage. A burn pattern on cut parts led the shop to schedule a lens replacement. The lens was clean; the protective window had a burned center spot and the cartridge seal was leaking.
- Suspected material problem. A new lot of stainless cut badly. The nest before it had been heavy on piercing, and the window was pitted from it.
The habit that prevents all five is the same: when cut quality changes without a parameter change, pull the cartridge and look at the laser protective window first, before touching power, focus, gas, or nozzle. It takes a minute and it is free. Modern Machine Shop has covered this diagnostic order for years, and it is the first page of the troubleshooting sequence we teach in operator training.
Reger Laser’s service technicians carry protective windows, cartridge seals, and nozzles on every call, because a large share of the cut quality issues we are called out for end with a window change and a conversation about inspection habits. That is not a complaint; it is the cheapest fix in laser cutting, and a shop that learns to catch it on its own has removed one of the most common causes of unplanned downtime. For the machines we support, the services page covers preventive maintenance plans that make the inspection routine part of the schedule rather than a rescue.
Protective Window Quick Reference
- Inspect: start of every shift, and after any heavy piercing run or unusual spatter.
- Clean: only with lens tissue and optical-grade solvent, only if the contamination is on the surface. Never dry-wipe.
- Replace: at the first haze, pit, burn spot, or any cut quality change that a nozzle swap does not fix.
- Handle: gloves, by the edges, cartridge seated and sealed, spare kept in its sealed pack.
- Stock: a minimum of two spares per machine, more for shops cutting aluminum or galvanized daily.
- Record: date, reason, and material on a tag or in the maintenance log, so the interval can be tuned.
Post that list on the machine. A laser protective window that is checked every shift and swapped on the first sign of damage protects a lens that costs many times more and keeps the cut quality where the parameters say it should be. Reger Laser stocks windows for every machine we service and ships same day.
A final word on sourcing. A laser protective window that matches the machine’s part number in size and thickness but comes from an unknown supplier may carry a coating that is not matched to the wavelength, and it will absorb energy the original would have passed. The symptom is a window that hazes in days instead of weeks. Buy from the machine builder or a distributor who can name the coating specification, keep the packing slip, and compare the life of the first one against the log. If it does not last as long as the original did, the savings were not real.
Frequently Asked Questions
How often should a laser protective window be replaced?
When shift-start inspection shows haze, pits, a center spot, or damage. In oxygen-assist mild steel cutting that is typically every one to two weeks; in nitrogen cutting of stainless and aluminum, two to six weeks. Our preventative maintenance post has the full inspection list.
Can a laser protective window be cleaned and reused?
Lightly dusty windows can be cleaned once with optics-grade wipes and solvent. Anything with burned-in residue or pits is replaced. Cleaning technique is covered in our operator training.
What happens if you cut with a dirty protective window?
Cut quality drops, the window heats and can crack, and spatter can reach the focusing lens, which is a far larger repair. Our cut quality problems post starts the diagnosis at the window for that reason.
Where do I get the right protective window for my machine?
Reger Laser stocks protective windows, cartridge seals, and nozzles for the heads we service. Use the parts picker or browse the shop, or contact us with the head model.
Need a Maintenance Plan That Catches Optics Before They Fail?
Reger Laser provides preventive maintenance, repair, parts, and operator training for fiber laser cutting machines nationwide. Contact us to set up a plan built around how your shop actually cuts.